Is the question of how to install a basketball hoop bothering you?
Here we share a step-by-step guide to make your B-ball life even sweeter and more comfortable than ever.
Also, we answer some of the most frequently asked questions to provide you with the most updated info regarding ground basketball hoop setup.
Tools And Set Up Equipment
Normally, a basket set from a branded brand will include everything you need to set up the basketball goal, but if you buy it from the streets, let’s prepare everything below:
Lag bolts/nuts +bolts, socket set, drill, wrench set, stud finder, and ladder.

How To Install A Basketball Hoop
There are 6 steps in setting up your b-ball goal. Follow the instructions carefully to ensure your safety.
Step 1: Choose The Right Location
You should look closely at your goal installing guideline, the backboard’s size, and the goal’s height, and don’t forget to check your location to see your available space.
Your ideal location gives players ample space to move quickly and avoid interference with other activities.
The best position is at the center of your designated playing area, while the rim’s top should be 10 feet high with the highest basket adjustment.
Remember to leave enough space to mark a free throw line (which is 15 ft if you measure from the backboard).
Last but not least, you should call this 811 before you dig to ask for the spot of the buried utilities to be marked (either with flags or paint) to avoid accidentally damaging an underground utility line while digging.
Step 2: Start To Dig A Recommended Hole
Now it is time to dig a B-ball’s goal pole hole. You should double-check with the manufacturer’s guidelines to see how big (size) the spot should be and how you should dig.
Then, take up the shovel and start to dig, or you can utilize a drill to make this job even more accessible.
Step 3: Secure The Hoop Pole
Mix the concrete and pour it into the hole around the b-ball goal pole to hold it firmly, which might call for a helping hand. When you rush, you need another person to keep the stick still.
Regularly agitate the concrete mixture to eliminate the air pockets and ensure a solid mix.
Next, use a trowel to smooth out the concrete’s surface and clean off the surrounding area with a small cloth or towel.
The cement needs about 48 hours to dry completely, but you can adjust the pole in only the first few hours when the cement has not hardened yet.
Step 4: Attach The Backboard & Raise The Basketball Pole
Depending on the model and brand, you may have to attach the backboard before or after raising the pole. Either way, please note that this type of backboard is heavy, so ask for help to complete the work safely and quickly.
Step 5: Set Up The Net & Rim
After successfully attaching the backboard, you must assemble the net & rim.
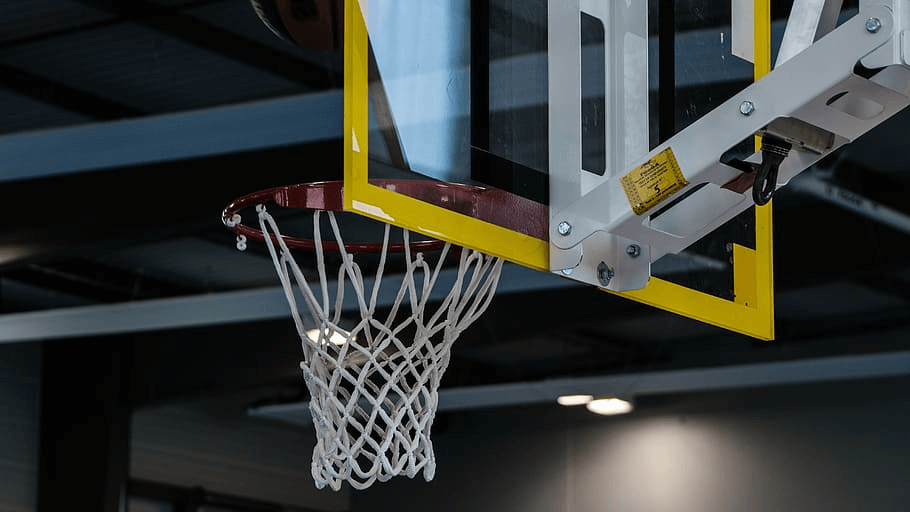
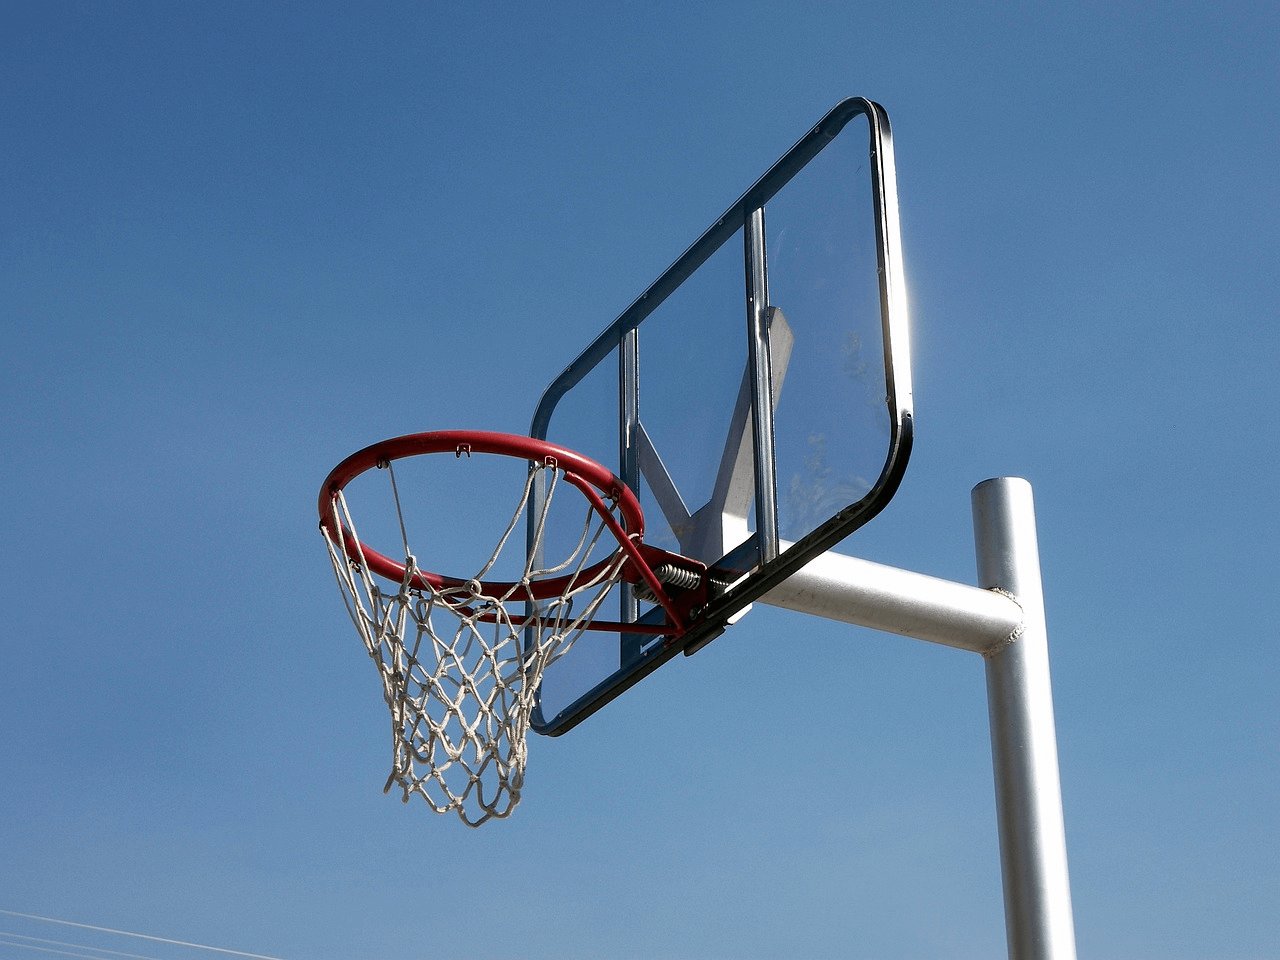
Adding the B-ball rim requires little technique; you must bolt it firmly to the backboard.
If your rim is a breakaway type invented by the famous Arthur Ehrat, you must do additional assembly, like attaching the spring to the rim & backboard (it is up to each brand for further extra work).
So read the manual carefully and continue to assemble the net on your rim.
Step 6: Add Additional Accessories (If You Have Them)
Finally, add any accessories that came with your ground basketball hoops, such as padding (which only had on some branded famous upscale models) or a ball return system.
These optional add-ons are for extra safety for players, especially when they bump into the goal to prevent injuries like bruises or bumps.
With this setup complete, your equipment should be fully installed and ready for use.

Why Should You Hire A Professional Install Your Basketball Hoop?
Doing so ensures your installation process is 100% secure and safe. When you work with a pro, he knows precisely what, why, when, and where you should do it and how to make your situation the best way to set the goal.
The expert excludes any dangerous factors that may be involved, makes sure there is no fall-over after he leaves, and even advises you to set it up correctly and give you a hand later.
You may need an extra fee for the service, but it gives you peace of mind once and for all.
Conclusion
That’s everything about installing a basketball hoop; it’s not difficult but needs some elbow grease.
Remember to share with us your newly installed hoop. We’d love to take a look at your effort. Please visit our website for expert sharing and guidance for anything about B-ball.
FAQs
No, especially when the backboard is heavy and hard to complete safely with one person. There is always a smart move to get professional help on the job with instructions. Don’t hesitate to ask for help; they may be your B-ball friend later when the installation is done.
Because if you hang it too low, let’s say, you place it too close to a tree or a wall, creating nothing but an unfavorable condition to play. You may hit the tree and fence and be complained about the noise. Otherwise, hanging it too high compared to your player’s height makes it impossible to have fun with.
About 72 hours, including waiting for concrete to harden 100%. Each step takes about 30 mins to 2 hours, depending on how thoroughly you plan and proceed and the skill of the helper.
